 Prep Time: 14 minutes
Grade: A-
Make Again: Yes (quick and easy for a hot summer day.)
Recipe Source: CI's bulletin board from Nancy, via Crystal, I think :-)
I modified it slightly to use a little less oil and so I could only open up one (slightly larger) can of black beans
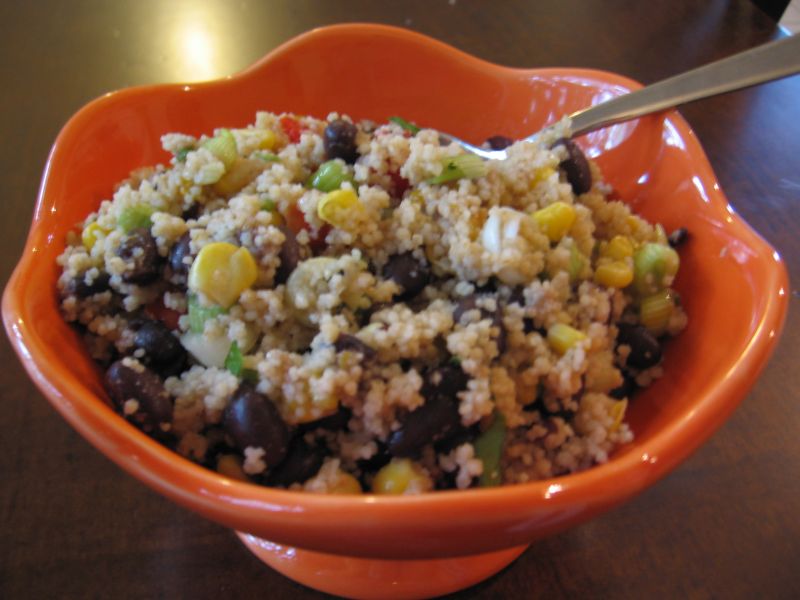
Black Bean and Couscous Salad
1 cup uncooked couscous
1 1/4 cups chicken broth
2 tablespoons olive oil
2 tablespoons fresh lime juice
1 tablespoon red wine vinegar
1/2 teaspoon ground cumin
8 scallions, chopped
1 red bell pepper, seeded and chopped (I used jarred roasted)
1/4 cup chopped fresh cilantro
1 cup frozen corn kernels, thawed
1 (20 ounce) cans black beans, drained
salt and pepper to taste
1. Bring chicken broth to a boil in a 2 quart or larger sauce pan and stir in the couscous. Cover the pot and remove from heat. Let stand for 5 minutes.
2. In a large bowl, whisk together the olive oil, lime juice, vinegar and cumin. Add green onions, red pepper, cilantro, corn and beans and toss to coat.
3. Fluff the couscous well, breaking up any chunks. Add to the bowl with the vegetables and mix well. Season with salt and pepper to taste and serve at once or refrigerate until ready to serve.
 Prep Time: 15 minutes