Showing posts with label julia. Show all posts

Sunday, October 19, 2008

Popovers

popovers
Prep Time: 8 minutes
Bake Time: 40-50 minutes

Grade: A-

Make Again: Yes

Recipe Source: Baking with Julia

I love popovers, because they are super easy to make and delicious. This recipe didn't work perfectly for me though, because they get too crispy and lose some of the eggy middle that I love. My oven has trouble getting to 450, so I used the Speed baking (air - sort of like convection), since the temp was only a little over 400. Also, I thought it would be good since I was using a muffin tin which doesn't allow as much air circulation. By 20 minutes (instead of called for 25) they were too brown really. (For the record, I had this trouble with the recipe before in a different oven without the air.) So, I need to remember to check these early.

But they were still delicious. I think they freeze well and even just heating up in the microwave works pretty well. (The oven would probably be better.)

Monday, July 03, 2006

Double Chocolate Cookies

Prep Time: 25 minutes
Cool Time: 2 hours
Cook Time: 10-12 minutes

Grade: A
Make Again: Yes

Recipe Source: Baking with Julia

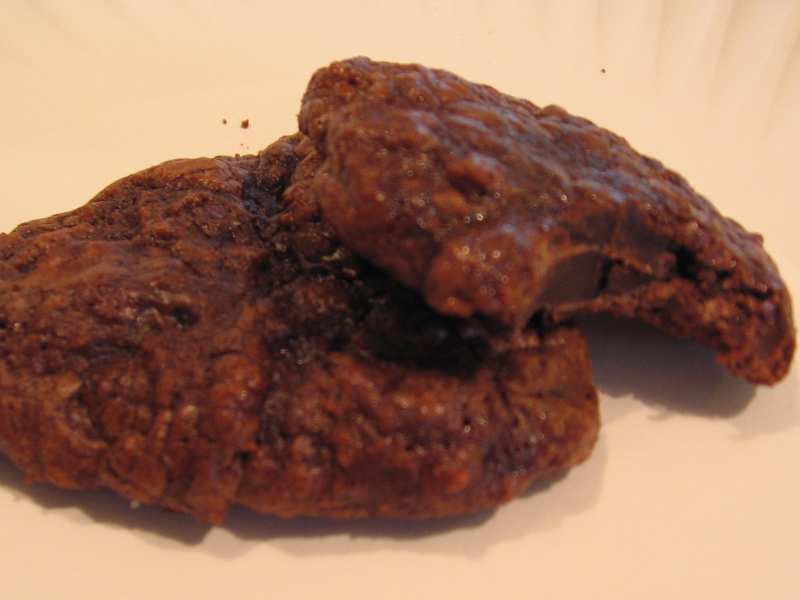
This is a slighty more difficult cookie recipe than most, but it is one of the best tasting, so is sometimes worth the effort. Chopping up the chocolate is a good portion of the prep time. You can replace 6 oz of the chocolate chunks with chocolate chips, and these are still great. I think I have even replaced all the chocolate with chocolate chips and had good results, although I have read that chocolate chips should not be substituted for chocolate that will be melted, because they have some different properties.

I have a similar recipe from Everyday Foods which is similar, but easier. I'd like to compare the cookies from these one day, to determine if the extra effort is worth it.

Saturday, June 10, 2006

Rustic Potato Loaves

Potato Prep: 3 minutes
Potato Cook: 20 minutes
Potato Cool: 20-30 minutes
Mixing Dough: 10 minutes
Kneading: 11 minutes
1st Rise: 20-30 minutes
Shaping: 5 minutes
2nd Rise: 20 minutes
Baking: 45-50 minutes
Cool: 20 minutes or more

Grade: A

Make Again: Yes

Recipe Source: Baking with Julia (contributing baker Leslie Mackie)

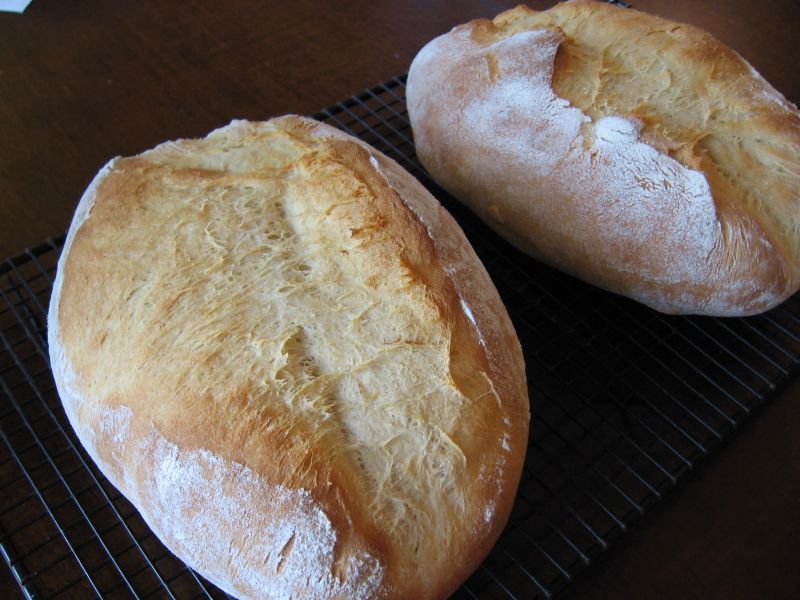
It might seem like this is a complicated recipe if you look at all the times listed above. But when you consider that most of the time is unattended, and that this recipe creates a unique type of bread, it really is not so bad. The potatoes are what add an hour to the time. If you had the cooled and cooked potatoes, you are actually spending less than 2 hours from start to tasting, to get this rustic bread.

This bread has a unique flavor from the use of 1.5 pounds of potatoes. It is a great flavor, in my opinion, just different than you might expect. The crumb on this is pretty tight and this makes a great sandwich bread. I have also enjoyed eating it plain.

I tried the bread after the required 20 minutes of cooling, and after it completely cooled, and I think it tasted best after completely cooling. It really still tastes great the next day too.

The recipe explains the process very well and I knew what to expect about this at first very dry dough, and then later wet dough. However, there seems to be one mistake, in that they never tell you to peel the potatoes after cooking them. You are told to cook them with the peel on, but I cannot imagine that you are to mash the potatoes with them on. Maybe that step is in there, but I can't find it!

Thursday, June 08, 2006

Buttermilk Scones

Prep Time: 20 minutes
Bake Time: 10-12 minutes

Grade: A

Make Again: Yes

Recipe Source: Baking with Julia (contributing Baker Marion Cunningham)

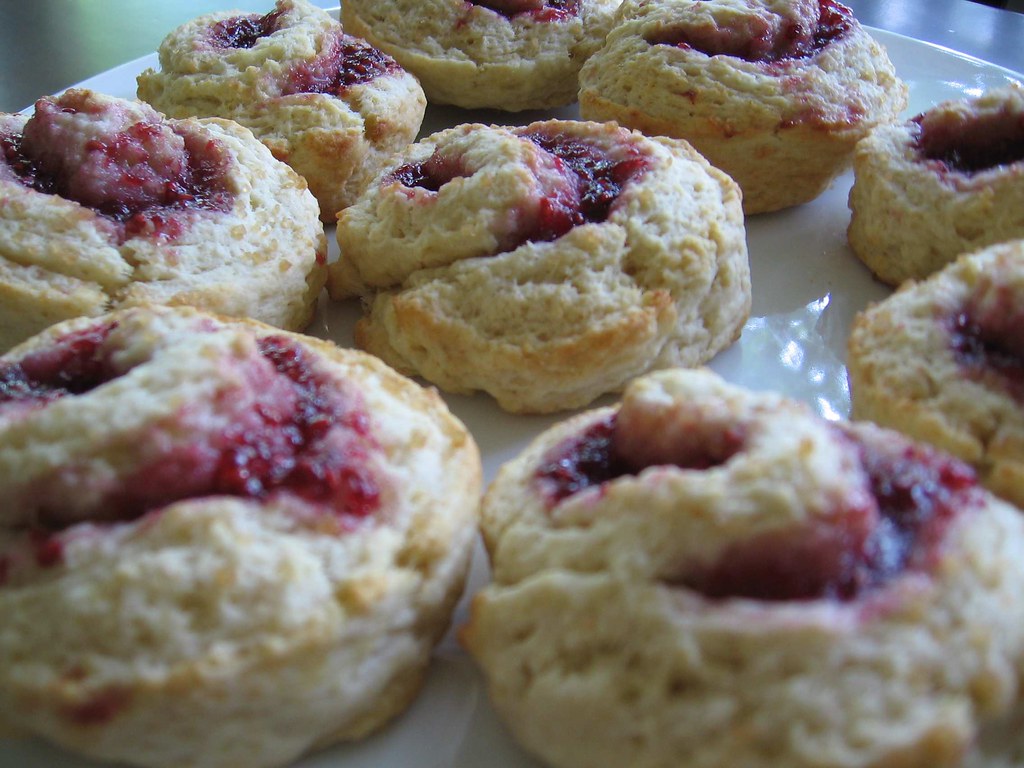
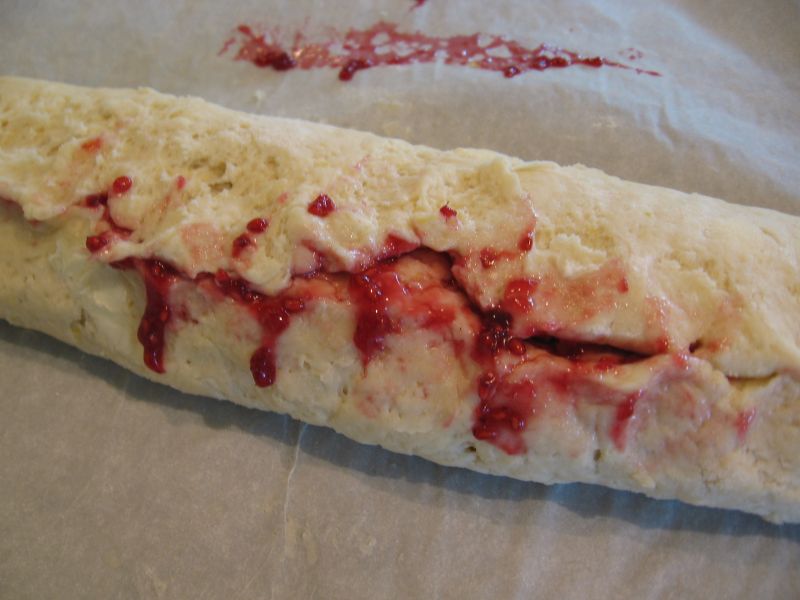
I've never seen or heard of scones being rolled before, so I wanted to try this version, because it seemed different, and sounded good. I had some trouble with this, because my dough got soft quickly (perhaps my butter was not cold enough) and I wasn't sure if it was OK to cool it off in fridge before continuing. I think it is OK, and I will try that next time if necessary. The other trouble I had was that I didn't measure out the jam, and I ended up using too much. I had a thought when I was spreading it on, that it might ooze out when I started to roll it, but that didn't stop me. Next time, I will keep a border of more than an 1" on outside edge, so there is room for the jam to go when rolling up. I also think it would be nice to spread the tops with the extra melted butter which I had, and then sprinkle with a little sugar. If done properly these could be very pretty. Regardless of the looks, they tasted great and I will try this recipe again.


Update: I tried these a second time and had better luck. I stored dough in the freezer while I prepared the filling ingredients, and I used less jelly. The picture at top, is from my second attempt. This time, my swirls where much prettier, and I used Turbinado cane sugar for topping which gave a nice little crunch.

Sunday, June 04, 2006

Swedish Oatmeal Hardtack

Prep Time: 8 minutes
Fridge Time: 30 minutes
Roll and Cut Time: 5 minutes per sheet (3 sheets)
Bake Time: 10-12 minutes

Grade: A

Make Again: Yes

Recipe Source: Baking with Julia (contributing baker Beatrice Ojakangas)

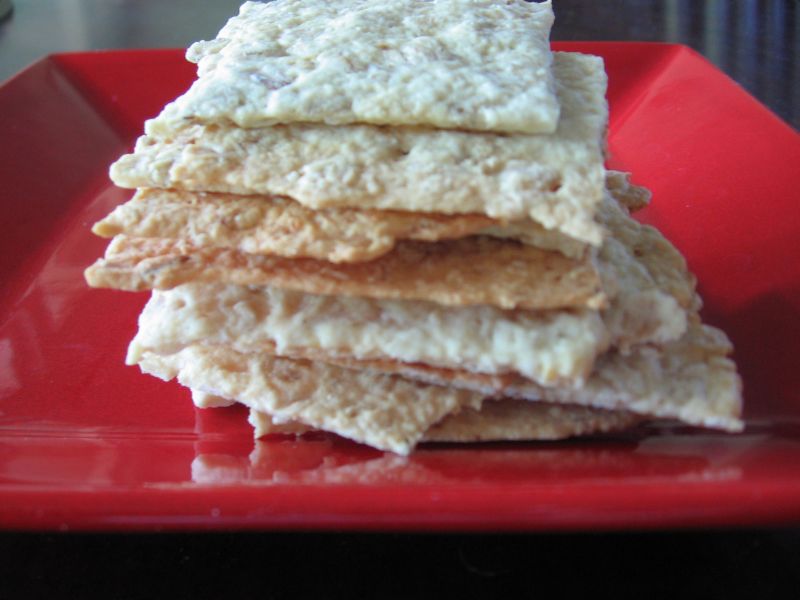
I never thought I would make my own crackers, but I saw this recipe and it seemed easy, and I have some buttermilk on hand, so I thought I would try. It was easy, and these were good.

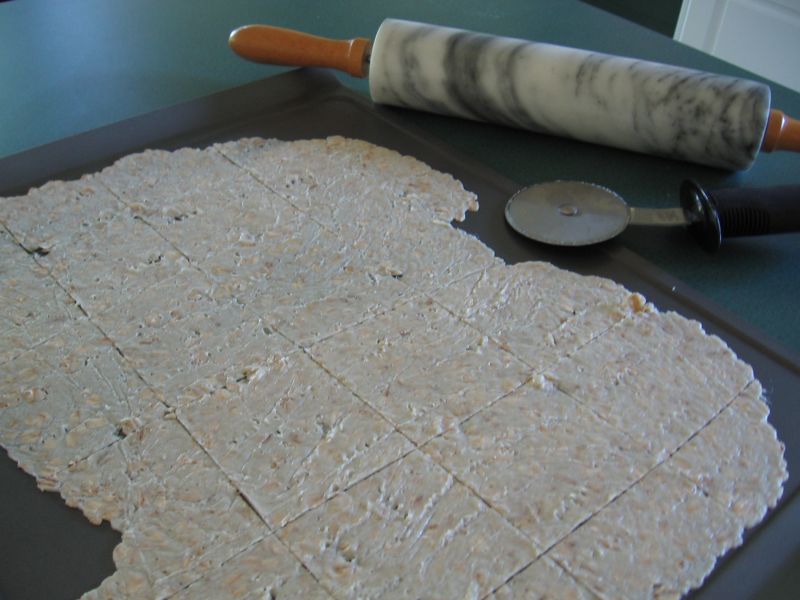
You basically mix up the dough (butter, shortening, sugar, flour, oatmeal, buttermilk, salt and baking soda), let it sit in refrigerator for 30 minutes, then roll and cut. Rolling out is really not too hard. I tried on parchment and directly on the sheet, and both were fine, so I would skip the parchment next time. Instead of flouring rolling pin, I used a sheet of plastic wrap, and peeled it off when done.


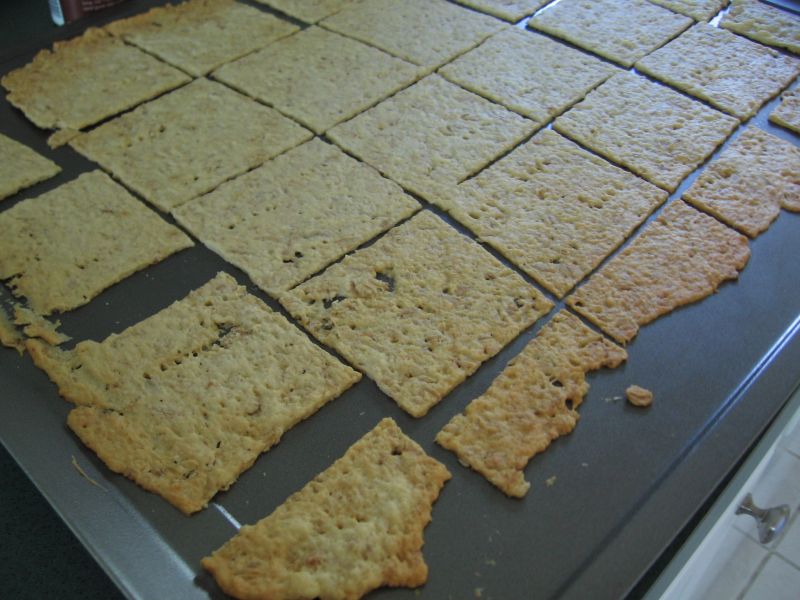
The recipe says it is better to take the crackers out sooner rather than later, but I disagree. I think they tasted best when they were well browned. These are very tasty little crackers with a touch of sweetness. I might try making with a little less sugar next time.

Tuesday, May 30, 2006

Cookbook - Baking with Julia

Baking with Julia was written by Dorie Greenspan with 27 contributing bakers. There was a Baking with Julia TV series for PBS, and this book contains all those recipes, plus many more.

I used this book a lot before I discovered Cook's Illustrated, but I haven't used it much lately. I am revisiting this book, but I have forgotten what I've tried, and I don't always remember if I liked the things I tried. I'm going to try to keep track better with this blog.

To see the recipes I have tried and reviewed from this book, click on the link "julia" below.

Pita Breads

Sponge Mix Time: 5 minutes
Rest Time: 30 minutes to 8 hours (longer is better)
Dough Mix/Knead Time: 15 minutes
Rise Time: 2-3 hours
Bake Time: 3-5 minutes

Recipe Source: Baking with Julia (Contributing bakers Jeffrey Alford, Naomi Duguid)

Note: Dough can be stored for up to a week in refrigerator, and little pieces may be pulled off to bake 1 or a few pitas at a time.

I used my Kitchenaid Mixer for this, but hand kneaded at the end. I wasn't exactly sure how the dough should feel and flour measurements given were imprecise. I ended up with a slightly sticky dough, but dry enough that I could knead with well floured hands.

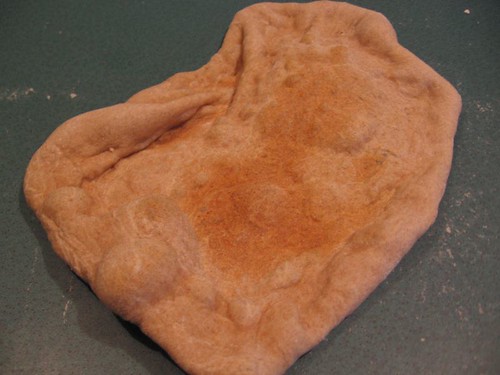
There are 2 methods of baking these: 1) on a baking stone in a 450 degree oven, or 2) in a pan on the stovetop. I tried both. Neither one gave me the nice air bubble that I was hoping for. My stone may not have preheated enough. I will keep trying though, because these are very good even if they don't look as pretty as I would like. It is great to be able to make a few of these at a time.

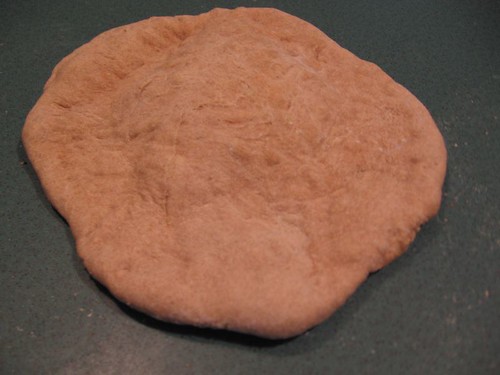
Another theory I have for them not popping up with air is that they were too thin. The recipe says to roll out to 8-9 inches and says the dough should be less than 1/4" thick. Even rolling out to about 7" got me pitas that were definitely less than 1/4". Because I was going for 8", they really got almost see through in parts. (My rolling technique needs improvement for sure.) The first one I did ended up being very lopsided, stretched out and uneven.

But, as I mentioned, these tasted great, so looks aside, this is a recipe I will use again.

Wednesday, May 10, 2006

Lemon Loaf Cake


.


Prep Time: 15 minutes
Bake Time: 60 minutes
Cool Time: 10 minutes + more to room temp.

Grade: A

Make Again: Yes

Recipe Source: Baking with Julia (contributing baker Norman Love)

I used to make this cake on occasion, but then I tried the Cook's Illustrated version and started to use that one when I wanted an easy lemon cake recipe. I finally tried this one again, because I had some lemons and heavy cream that I really needed to use up.

In fact, one lemon was so far beyond its prime that it had a tiny bit of mold. I decided to wash and cut away the mold and get the zest. The lemon was so soft, the moldy part of the peel just brushed off when I was washing it. Did that deter me from using the zest. No! It still seemed to have good lemon flavor, so I went ahead.

This recipe is similar to the CI recipe, but it is a little lighter, using 1/2 c. cream and 1/3 c. butter instead of a full cup of butter. It really is like a lemon pound cake, and is pretty easy to make.

The recipe says you can make it in 5 minutes. I admit to not being the fastest in the kitchen, but the only way you can make it in 5 minutes, is if you have all your ingredients prepped (and I included all of that in my prep time). I like both recipes, but they do end up creating different types of cakes. This one seems a little sturdier and easier to eat without a fork.

4 eggs, at room temperature
1 1/2 c. sugar
pinch of salt
Grated zest from 3 large lemons
1 3/4 c. cake flour
1/2 teaspoons baking powder
1/2 c. heavy cream, at room temperature
5 1/2 tablespoons unsalted butter, melted and cooled to room temperature

1. Preheat oven to 350 and place a rack in center of oven.
2. Butter and flour a 9x5 loaf pan.
3. Whisk together eggs, sugar and salt for 1 minute, until foamy and blended. NOT long enough to thicken.
4. Whisk in grated zest.
5. Spoon flour and baking powder into a sifter and sift 1/3 into egg mixture. Whisk flour into eggs, lightly. Repeat 2 more times, without beating.
6. Whisk in heavy cream.
7. Fold in butter with a rubber spatula.
8. Pour mixture into pan and put in oven. Bake for 50-60 minutes until center crowns and cracks and a toothpick comes out clean.
9. Cool on wire rack for 10 minutes before unmolding and cooling to room temperature.

Cake can be stored wrapped tightly in plastic wrap for 3 or 4 days, or double-wrapped and frozen for a month.